Week 2, Part 1/2
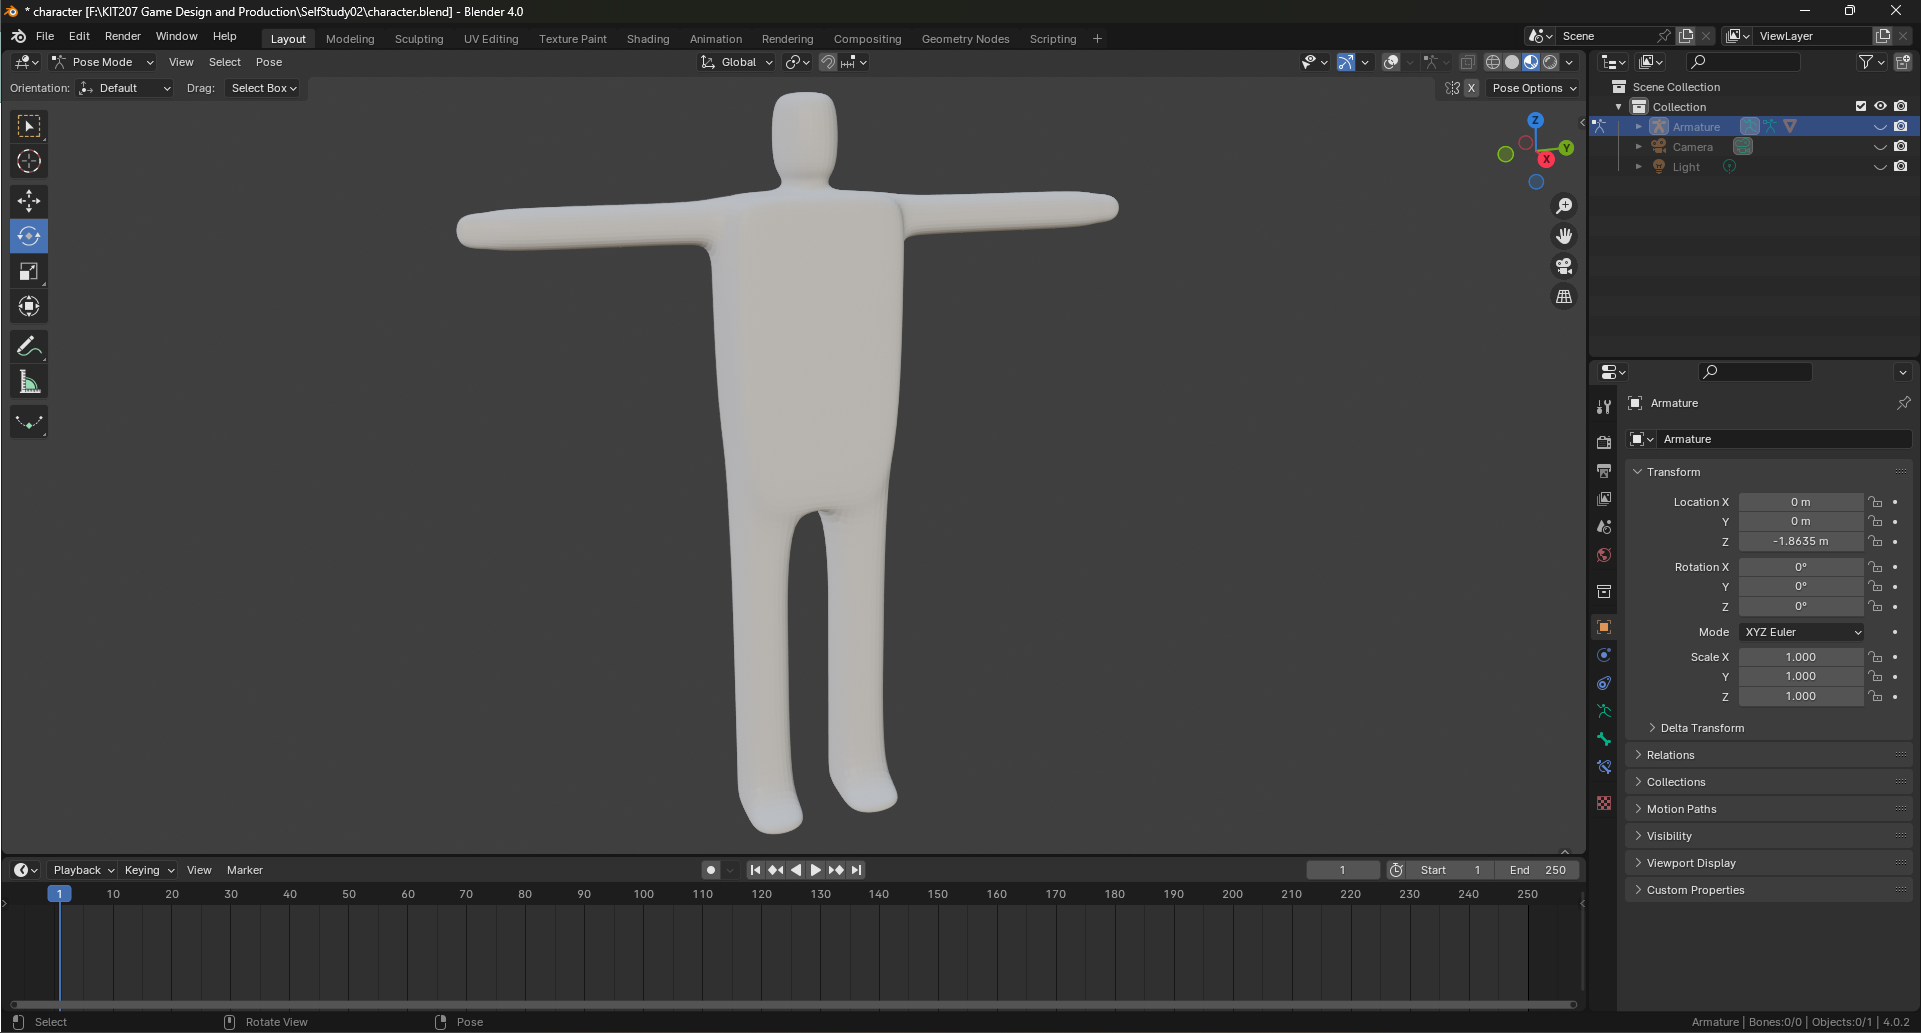
This week was all about using Blender to create a human figure and add a few animations. My first attempt at creating a human figure was rushed and turned out quite blocky, and with no textures. While this was fine for testing animations, I still wanted to create something better to test myself.
I began creating a new character, using the same techniques as before. This time I added some more curves to the figure, such as the neck, head, chest and waist. I also made the arms and legs thinner towards the hands and feet. I even took this opportunity to improve my texturing. After much experimentation and many mistakes, I finally got it figured out. Even though this texture is quite simple, I am very pleased with the results.
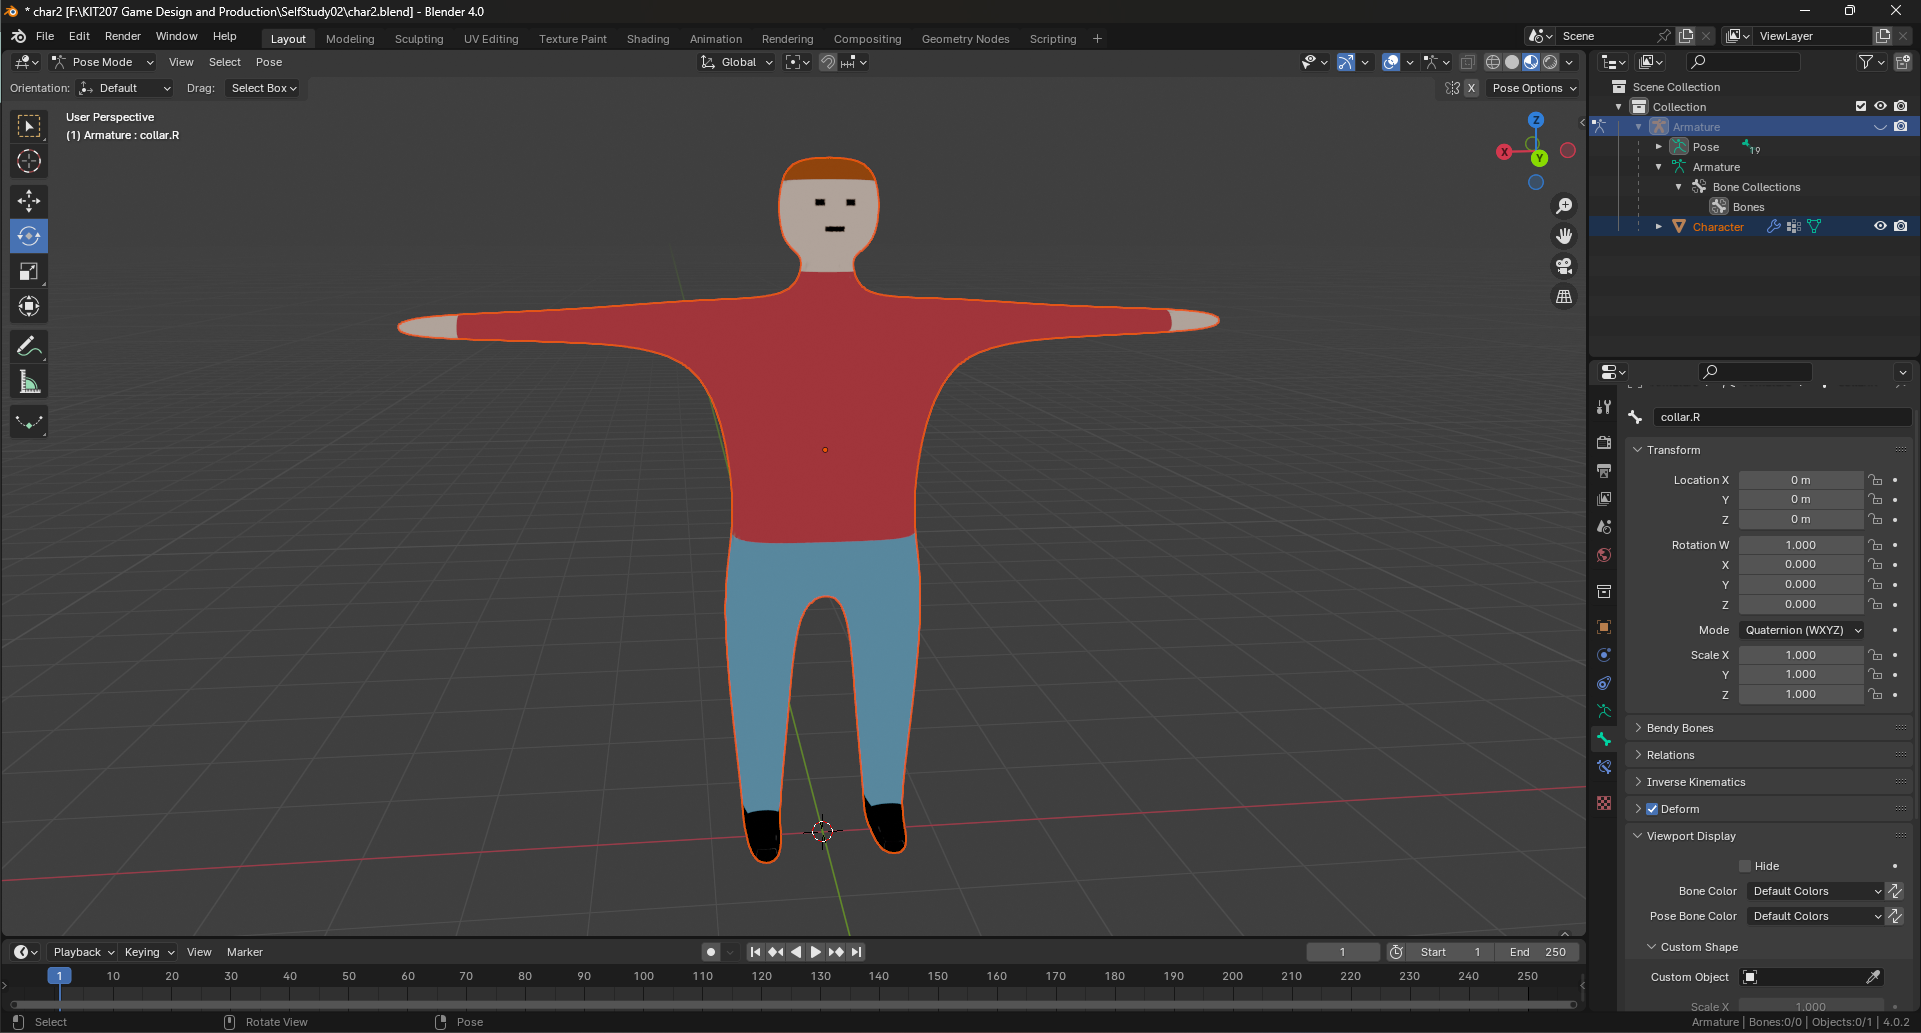
The next job was to add some animations. Before doing this, I needed to create a skeletal structure, known as an armature, which is then used to apply different poses to the character. This seemed too easy to start with, but I encountered a big problem. My first attempt at posing the figure created some awkward movement around the shoulders, with large bulges sticking out when I raised the character's arms. I searched for a solution online and observed that many professional character models included the collar bones, which mine did not. I realized that doing this would likely solve my problem, at least in part, as it would distribute the process of posing the character more evenly across the model. After adding the collar bones my model looked much better while posing, with no large bulges appearing.
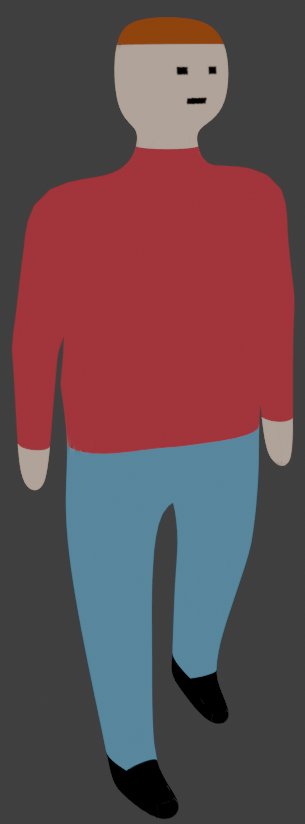
Animation was then done using keyframes. This process involves posing the model in various ways to tell Blender where each part of the body should be at particular frames. The software then calculates the position of each body part for all the frames in between these keyframes. This makes the job of animating easier, as I do not need to pose the model for each and every frame. I created animations for the character standing idle, waving, walking, and dabbing. Here they are in gif form, with corresponding animations to show the wireframe model and armature within.

That's all for now. My next job will be to import the model, texture and animations into Unity and have the user trigger the different animations.
Leave a comment
Log in with itch.io to leave a comment.