Week 3 Part 1/2
The focus of this week was on creating terrain and buildings for a player to move around in, then filling the world with prefabricated objects like trees and the tourist site model developed in week 1. Unity has a number of tools which makes this process easier for developers. I started by creating a flat patch of terrain and applying a simple grass texture, courtesy of https://architextures.org/textures/554.
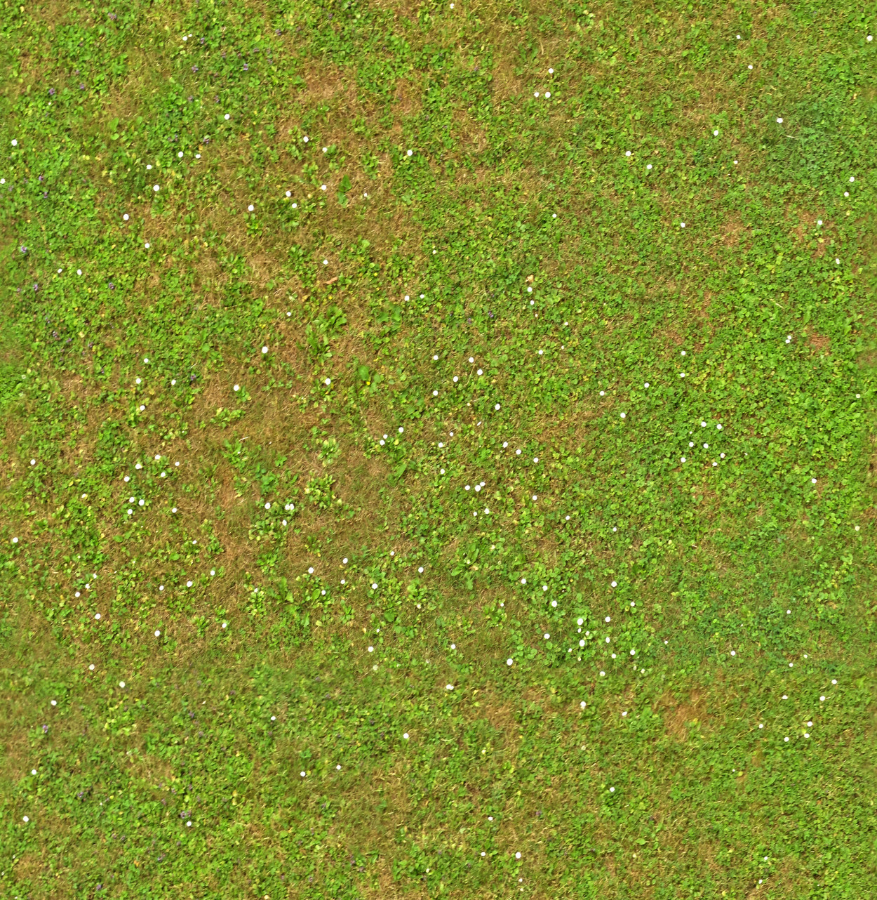
This texture, like many others used in game development, has been created for seamless tiling. This means that the pixels on the left and top of the image are the same or similar as the pixels on the right and bottom, so the image can be applied to a surface in a series of tiles without a visible seam. I then used the height adjustment tool to create some hills and valleys.
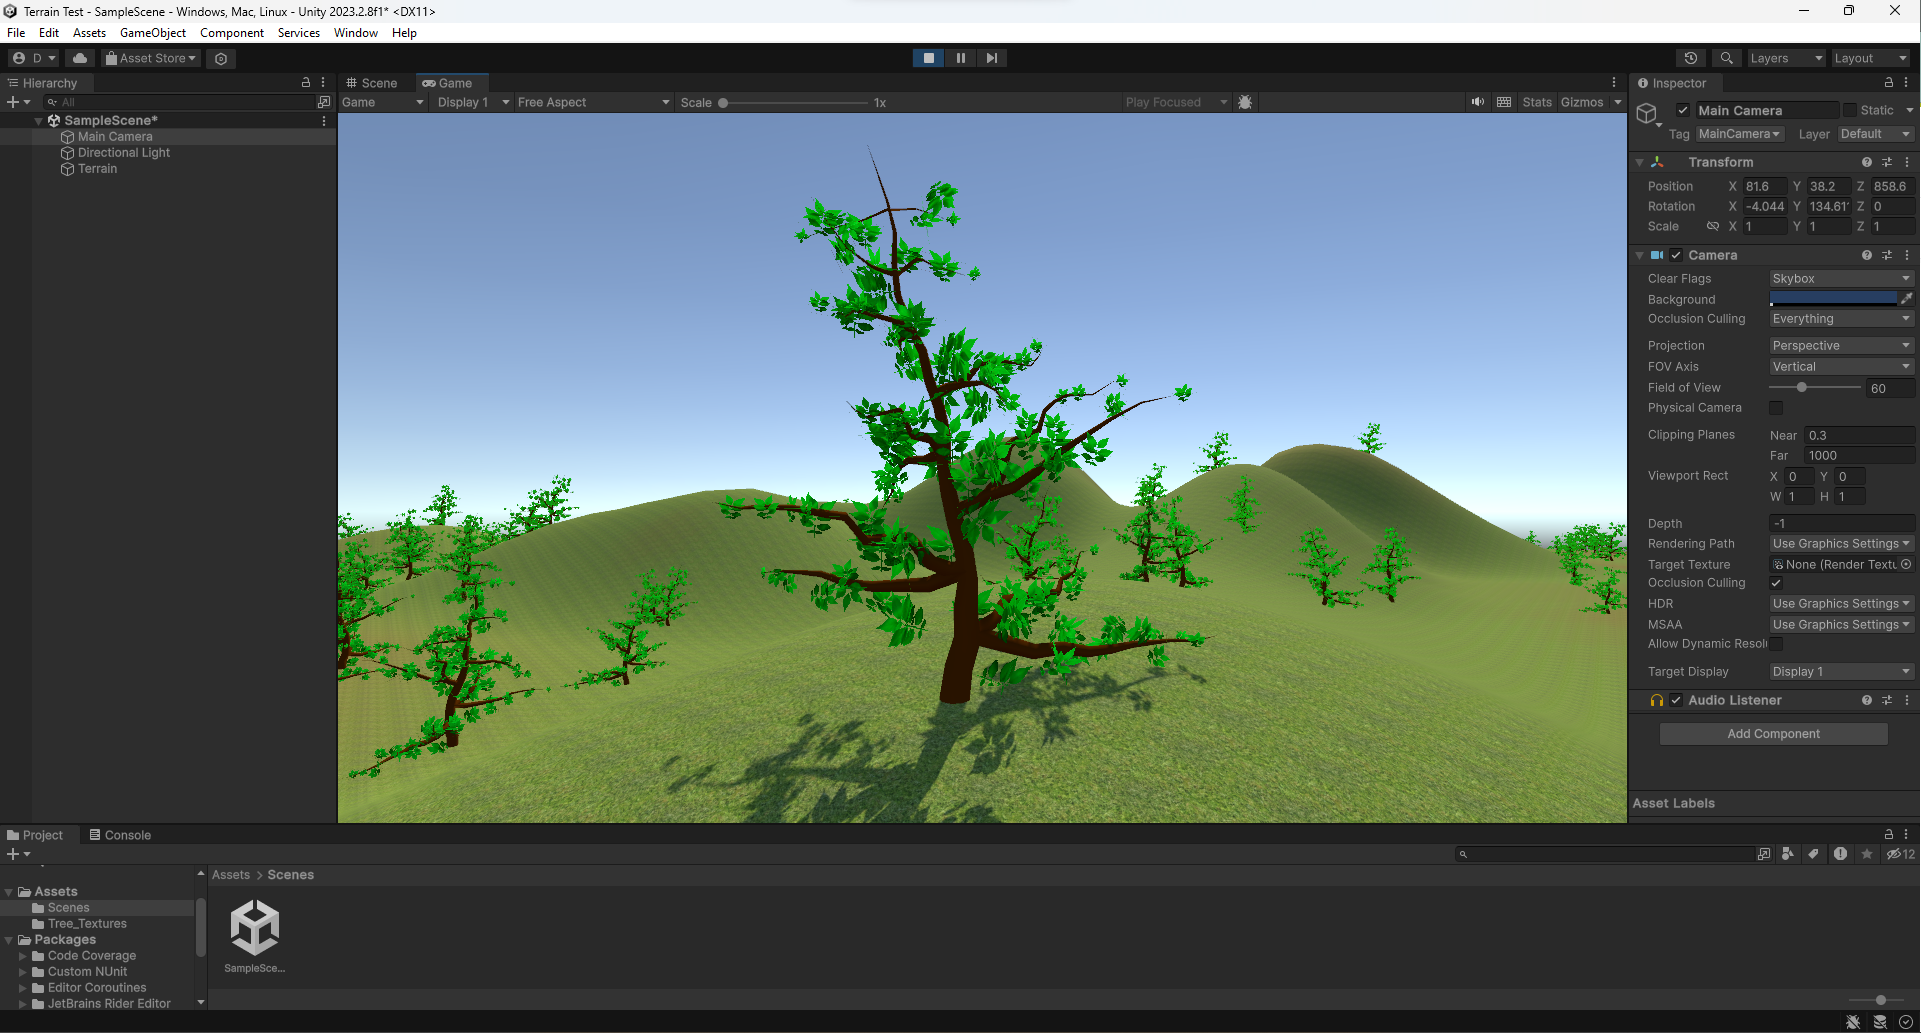
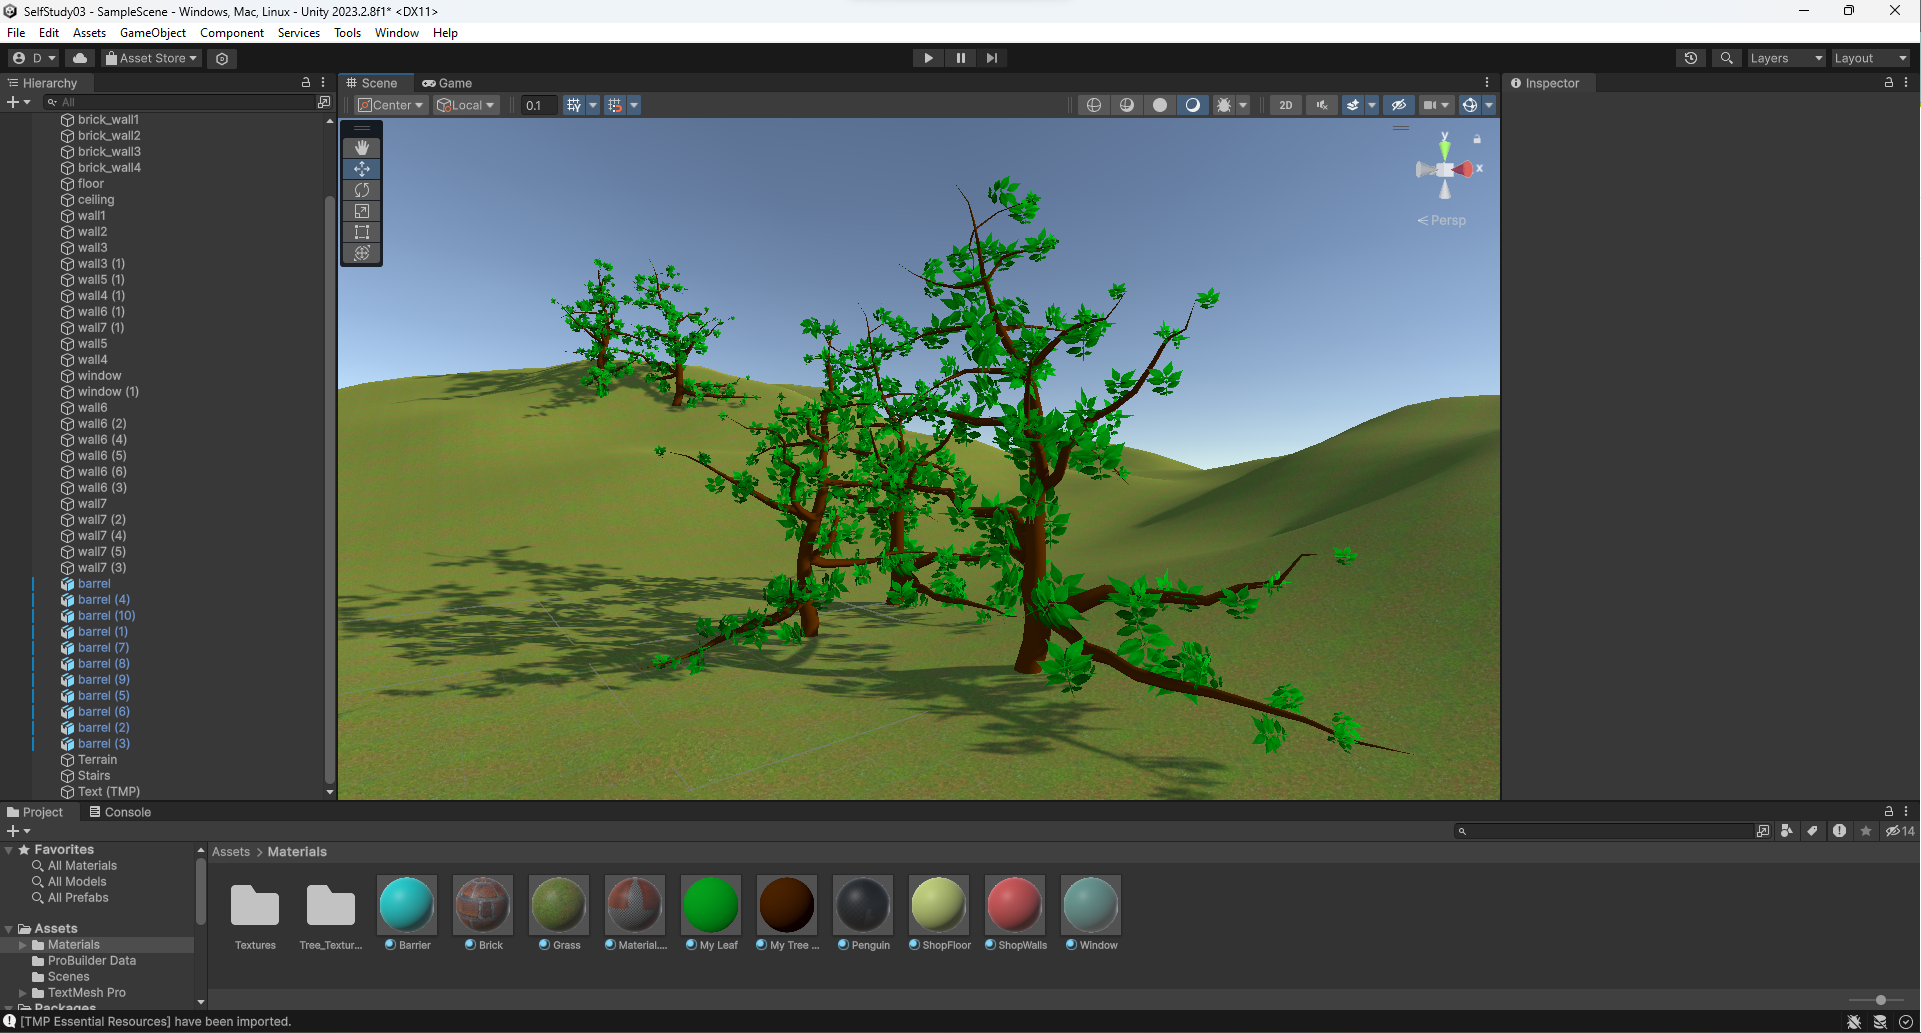
I used the Unity tree editor to create a simple tree that I could place on my terrain. The tree editor creates a single branch by default which is the trunk of the tree. I could then add further branches coming off the trunk and modify them to achieve the desired result. I added a little bit of "twist" to my second level branches, so they didn't just stick straight out. I then added some leaves, which at this stage were nothing more than grey squares, so it was time to create some materials. For the tree branches I created a plain brown coloured material with no texture and a black specular colour, which means it won't appear shiny when the light is on it. For the leaves I found a nice texture online, https://www.cleanpng.com/png-fiddle-leaf-fig-plant-stem-tree-plant-704781/, which is adequate for testing but needs some adjustment to make it look like the leaves are actually coming from the branches. It will take some practice to achieve better quality trees, and Unity has many different settings to learn and experiment with.
Here is my terrain with one of the trees in close-up.
I then found the relatively new "Terrain Tools" package in the Unity Package Manager. Unity packages add new tools and features to the Unity interface for developers to take advantage of. The Terrain Tools package adds new options for modifying terrain. The most useful modifiers I found for my terrain were the noise modifier, which adds height to the terrain in a semi-random manner, and the erosion modifier, which subtracts height from the terrain to mimic the effects of wind, heat or water. The erosion modifier is great for creating realistic looking hills and mountains. Overall, the Terrain Tools package makes it much easier to develop terrain elements for games. Here is a screenshot of my terrain with some of the new modifiers applied, which results in a more organic looking terrain.

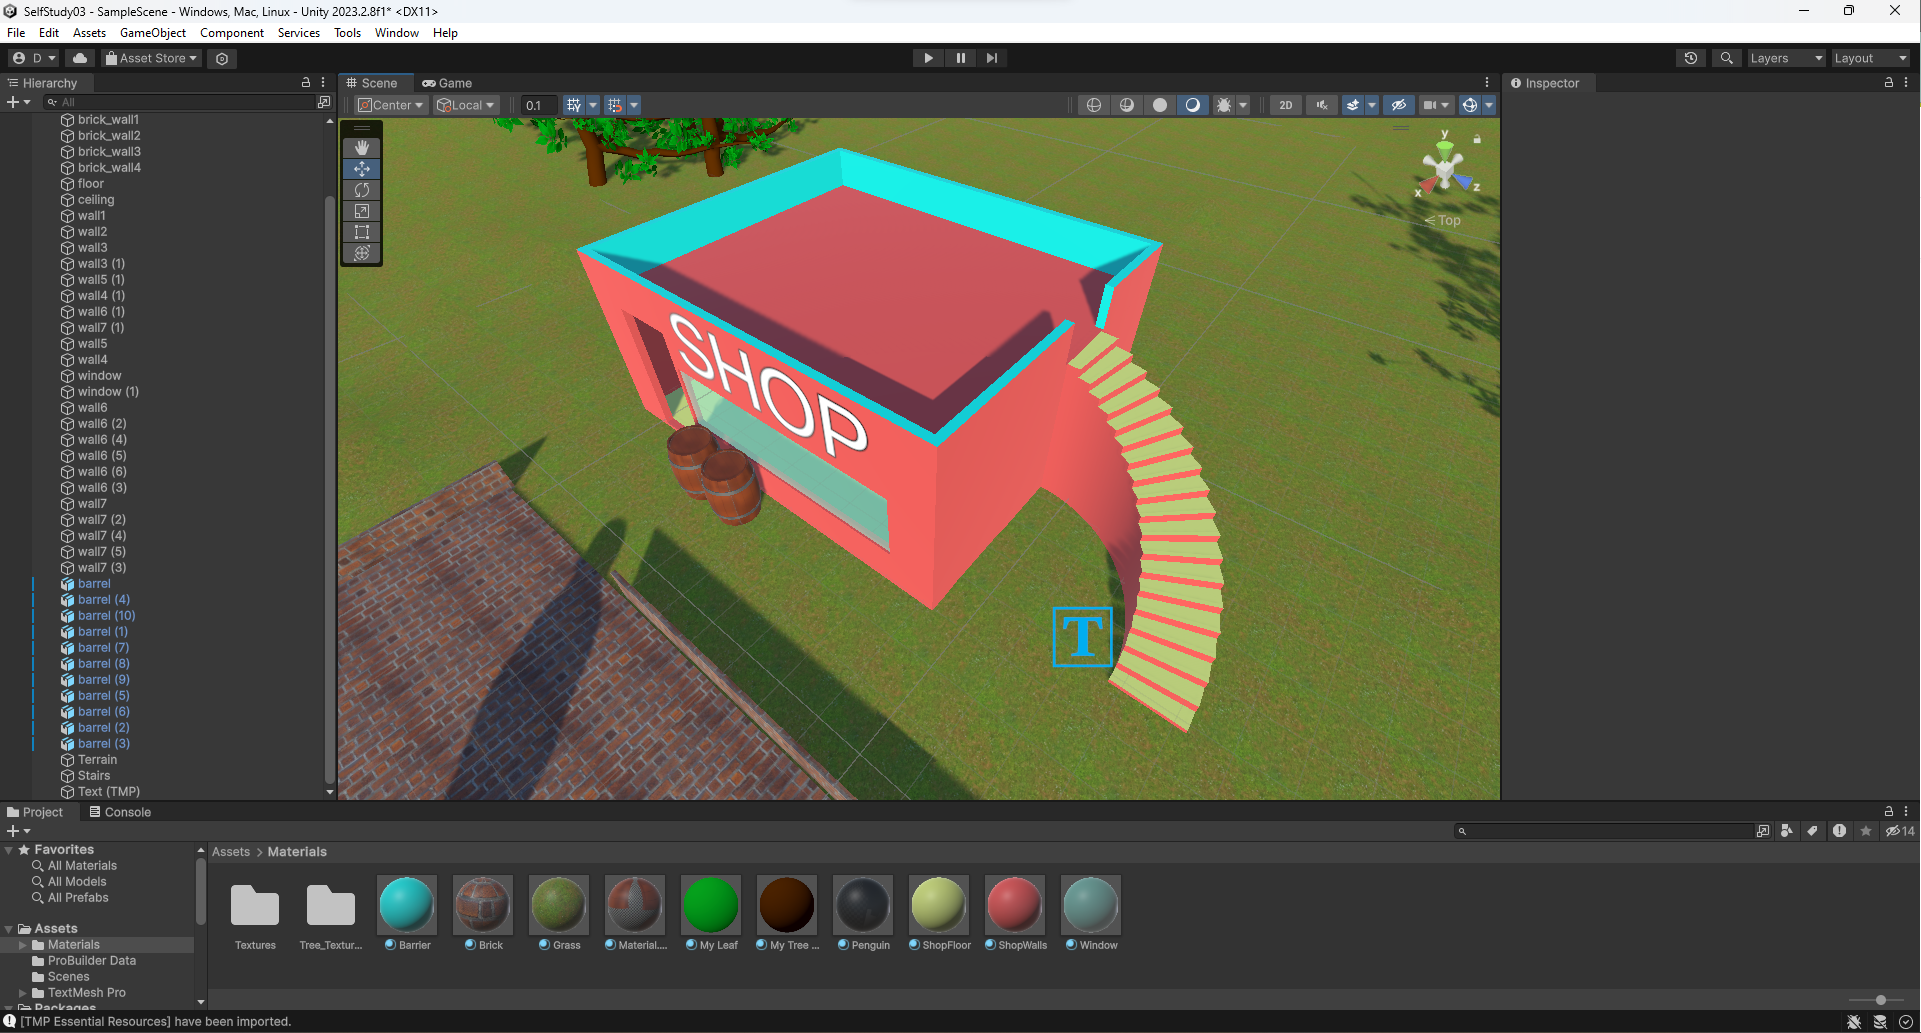
Unity has another package named ProBuilder for developers to create buildings and indoor settings. I followed this tutorial, https://www.youtube.com/watch?v=PUSOg5YEflM, to learn the ropes and create a building which could theoretically be used in a game. The floor of the building was laid out first by creating a 2D shape, this was then extruded upwards to give it height. I could then scale the shape down and extrude again to create the second and third levels. At this stage I applied some simple materials to distinguish between walls, floors and doors. For level designers and game developers, this could be an adequate level of detail to allow play testing and experimenting with game mechanics, with the finalized models, materials, textures and other details added later. Finally, I made a flight of stairs up one side of the building. Building the stairs was the most challenging part of this model, as ProBuilder did not always cooperate with the grid-snapping tool of Unity. The stairs needed some minor adjustments to align them to the side of the building.
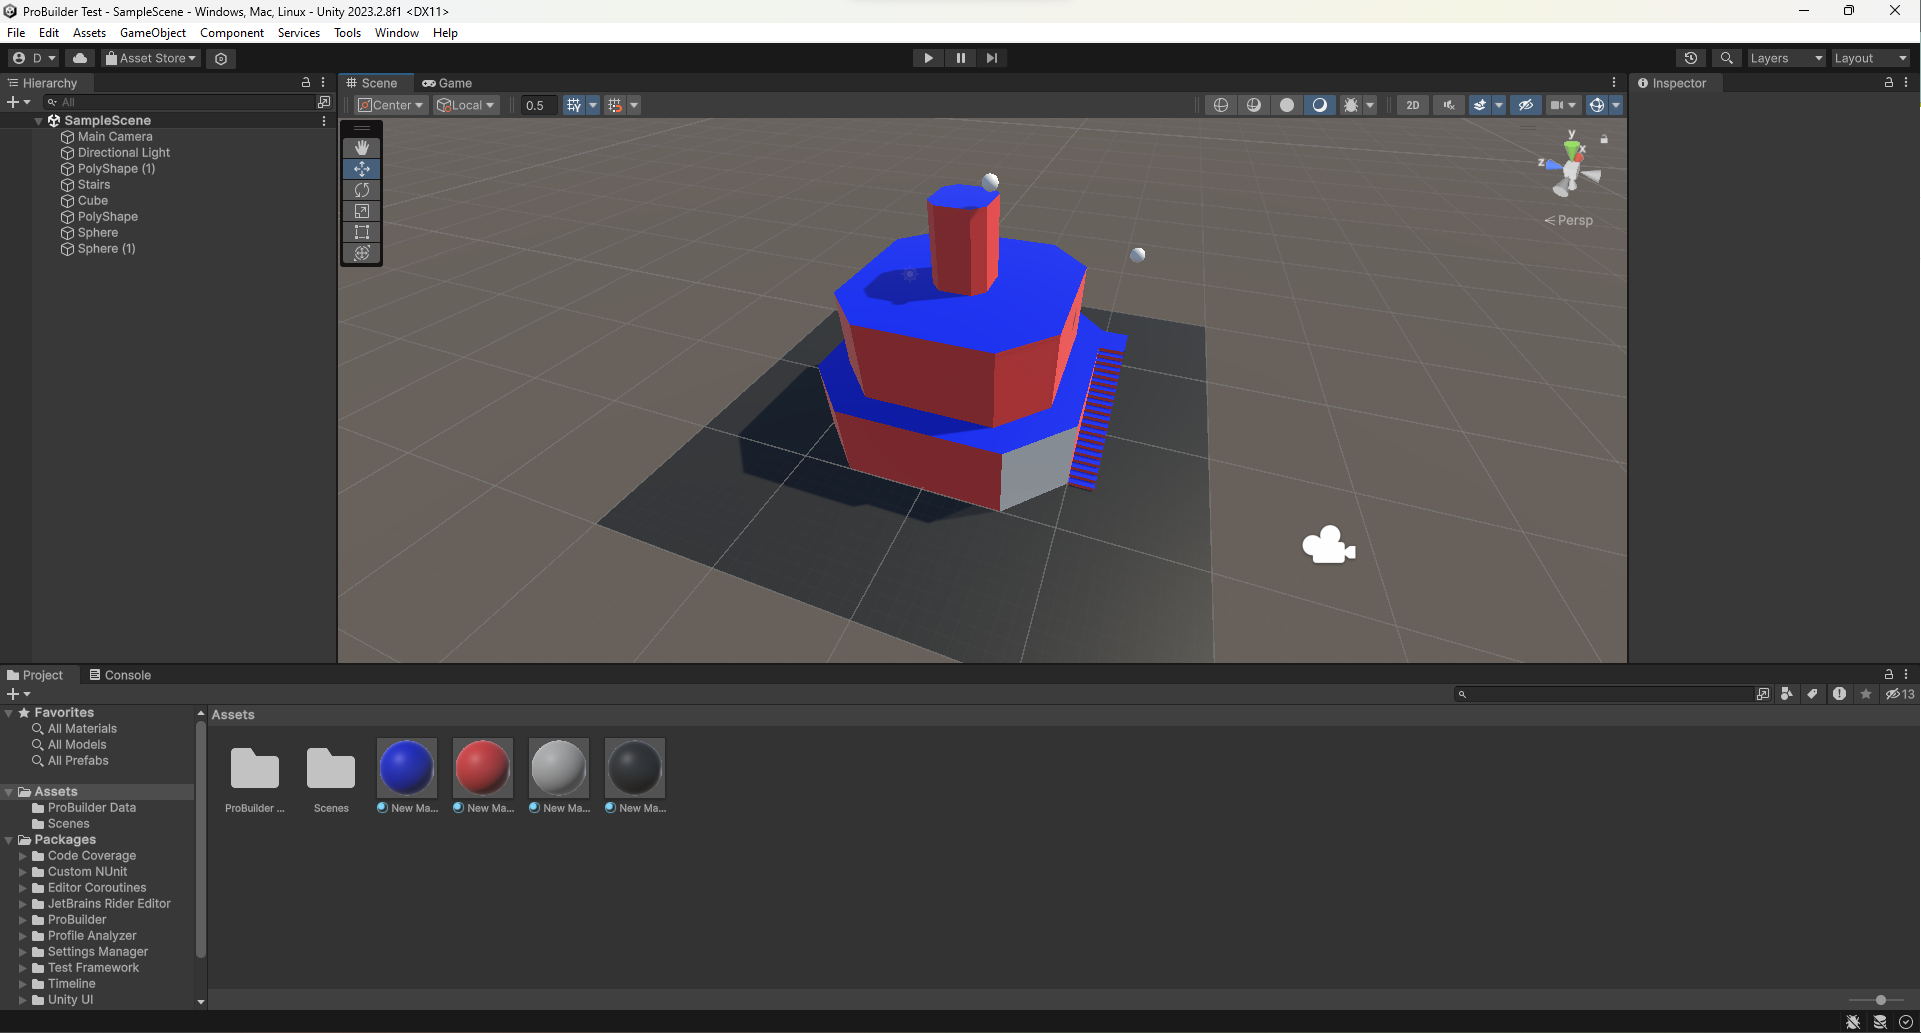
My favourite part of ProBuilder (so far) is that it automatically creates a "mesh collider" around the model you create. This means that if I add a couple of spheres to the level and apply physics to them, they will collide with the ProBuilder model and bounce around accordingly, like this (I really like how the ball bounces down the stairs):
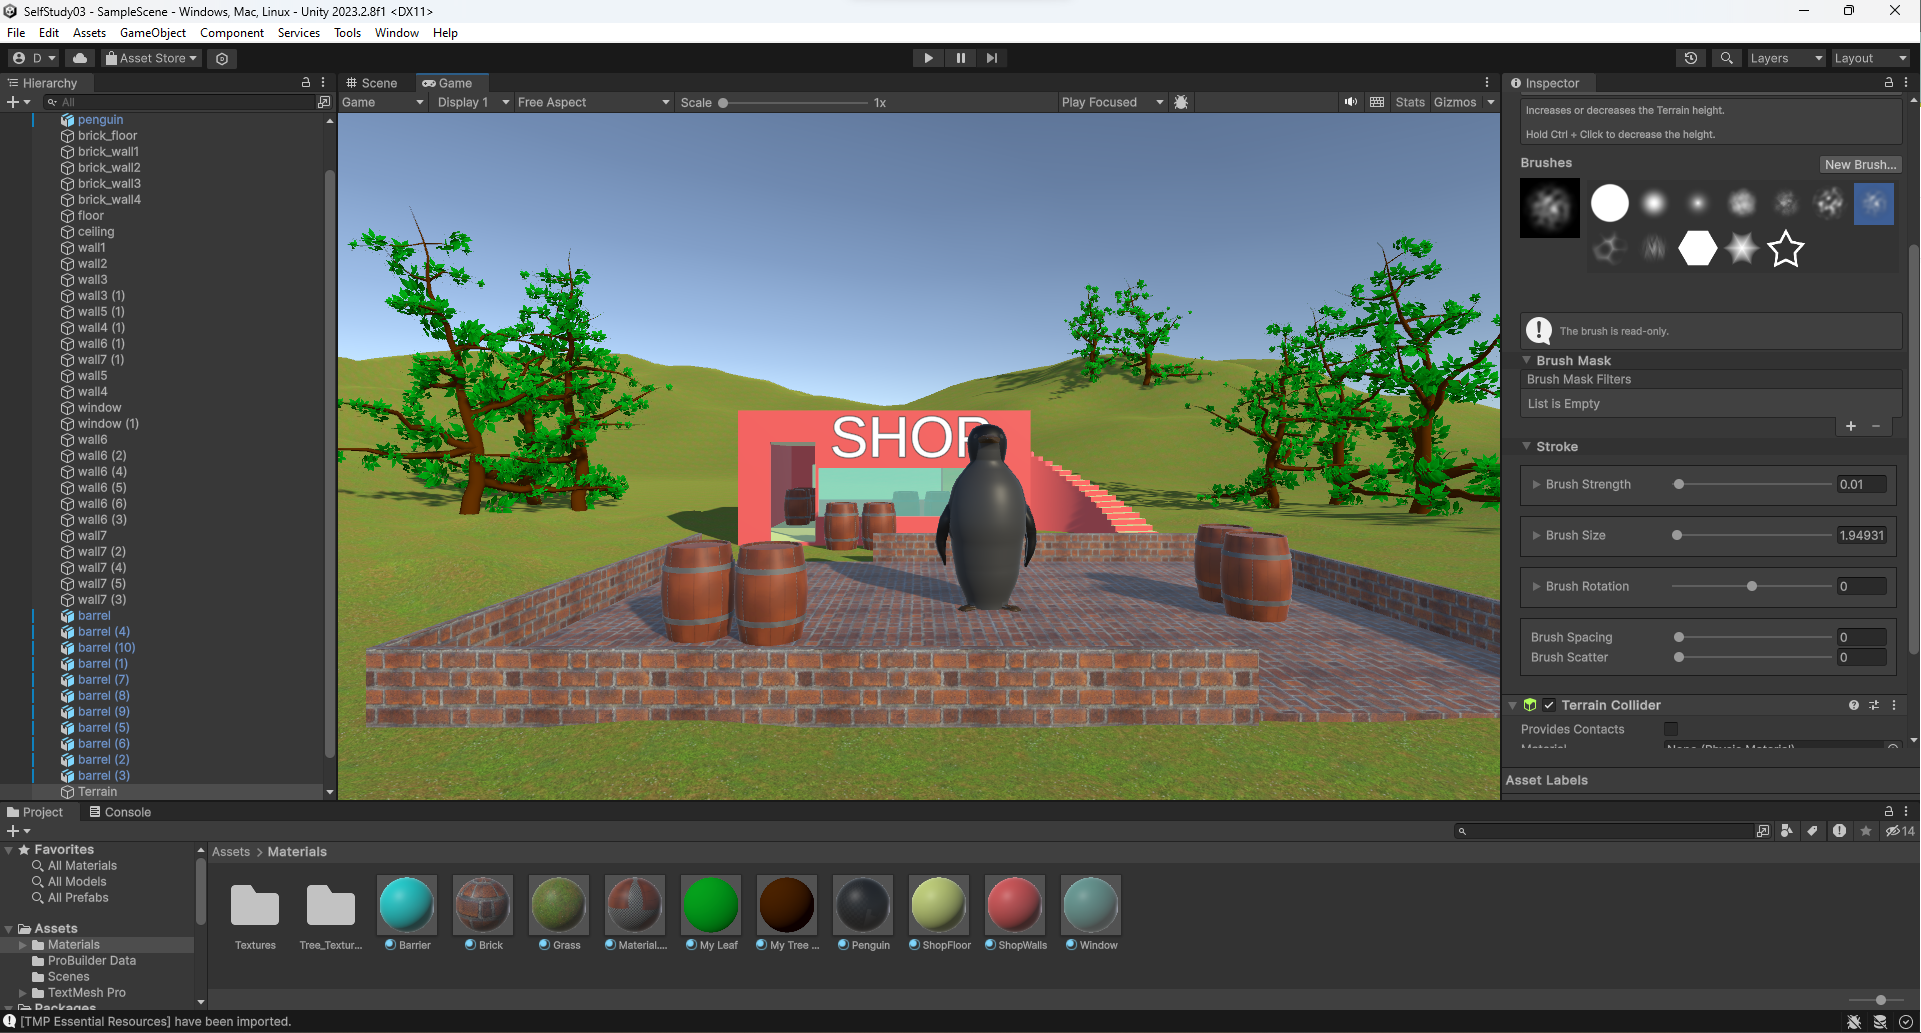
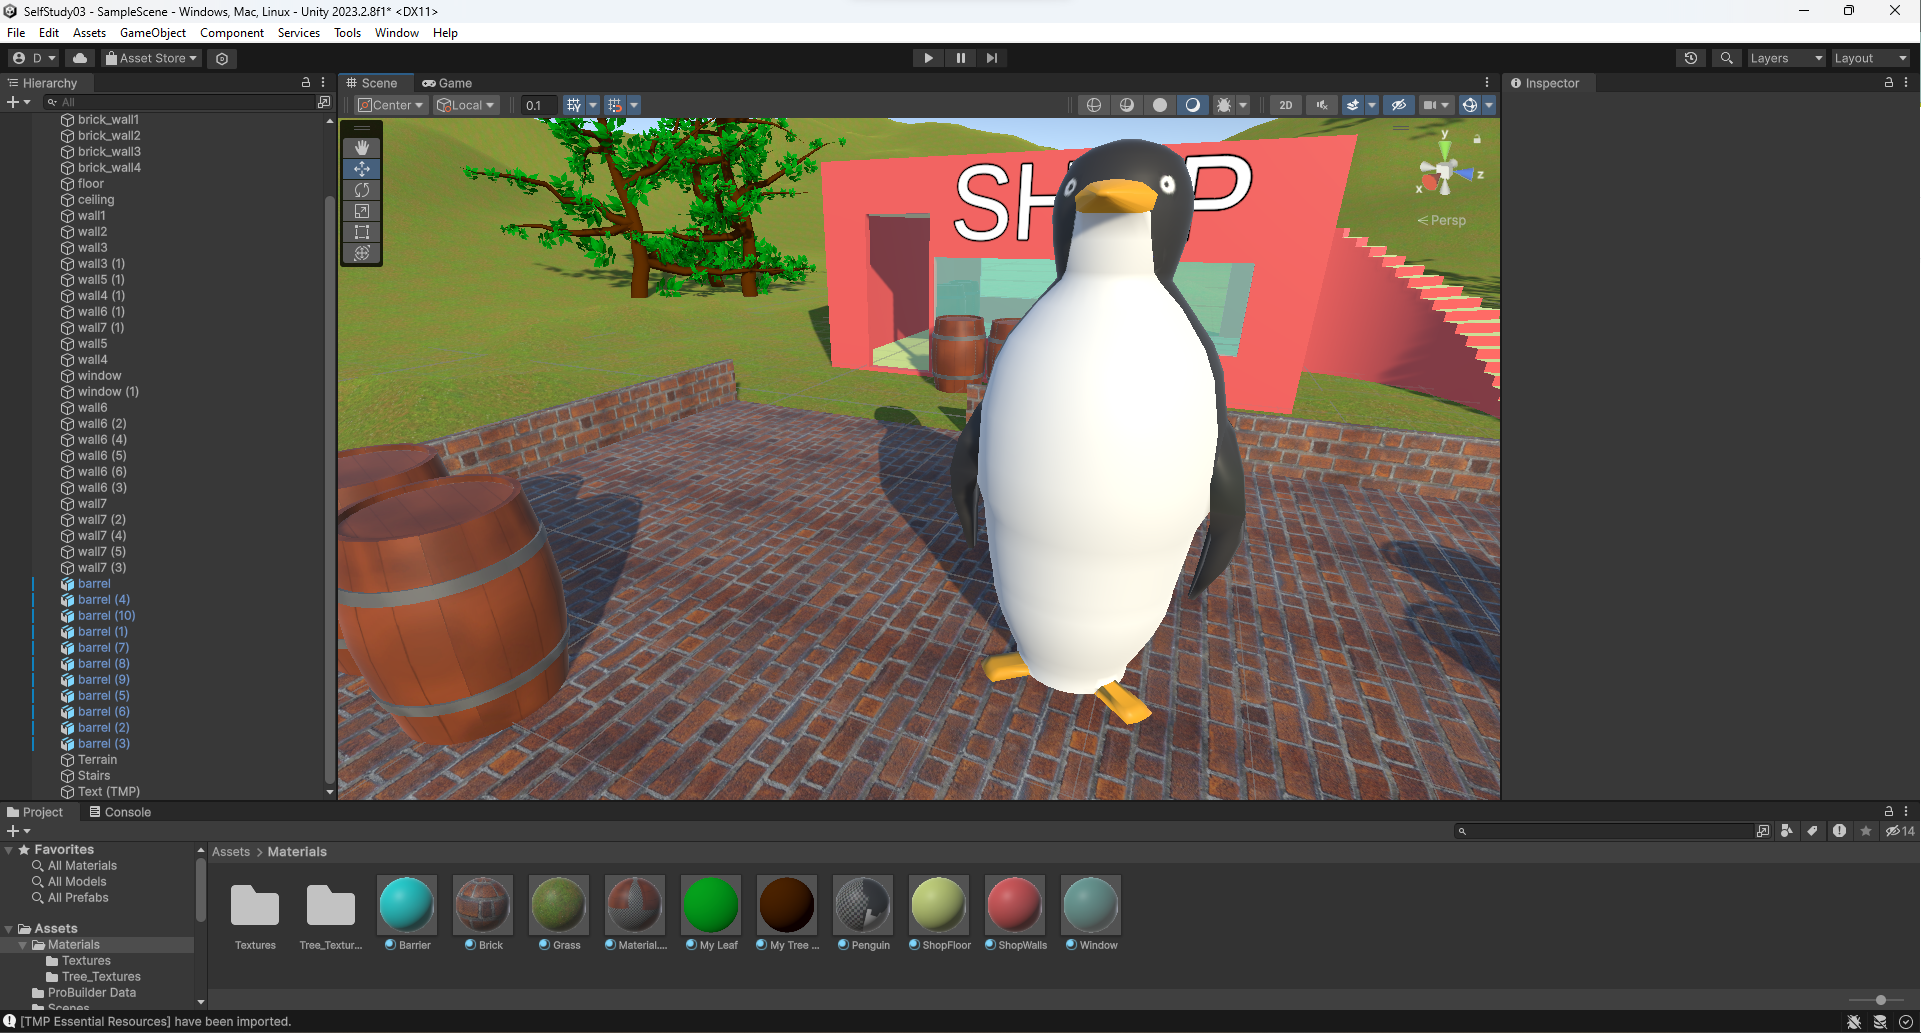
I was now able to combine everything I had learned this week into single scene. First, I started a new project in Unity and imported my penguin and barrel models from week 1. I created a brick floor for the penguin to stand on and scattered a few barrels around the scene. The brick texture is from https://www.textures4photoshop.com/tex/brick-and-wall/brick-wall-seamless-and-ti..., and tiles well on the model. I then used ProBuilder to create a building in the background, including transparent windows and a staircase leading to an upstairs area. The staircase was challenging to get right and required some experimentation. My first attempt at creating the building used an experimental modifier in ProBuilder - Boolean subtraction. This modifier takes one object and "subtracts" the volume of a second object to create a new object. This appeared to work as I created a hollow block for the building, then a door, but subtracting a hole for the window created some unintended results (which I forgot to take a screenshot of). I settled on the slightly more laborious method of creating each section of wall individually, which turned out to be more suitable when it came to applying materials. I applied some simple coloured materials to the building to distinguish between walls, floors and windows. Finally, I added the terrain to my scene using the techniques discussed above. I used the same grass texture as before and added a few of my tree prefabs to complete the scene, plus a few more barrels here and there. When taking these screenshots, I noticed that my penguin looked very dark. I assumed it was the lighting I needed to fix, but I had accidentally modified the penguin material's albedo colour to dark grey instead of white. This meant the texture was modified to be darker in colour than the original texture. I was able to fix this in time for the final screenshot showcasing the penguin in all its glory.
Now that this scene is complete, the next task will be adding a "navigation mesh" to the scene, which Unity uses to control AI character movement and pathfinding around the scene. It will be interesting to see how this works with the indoor setting and stairs that I have created.
Leave a comment
Log in with itch.io to leave a comment.