Week 3, Part 2/2
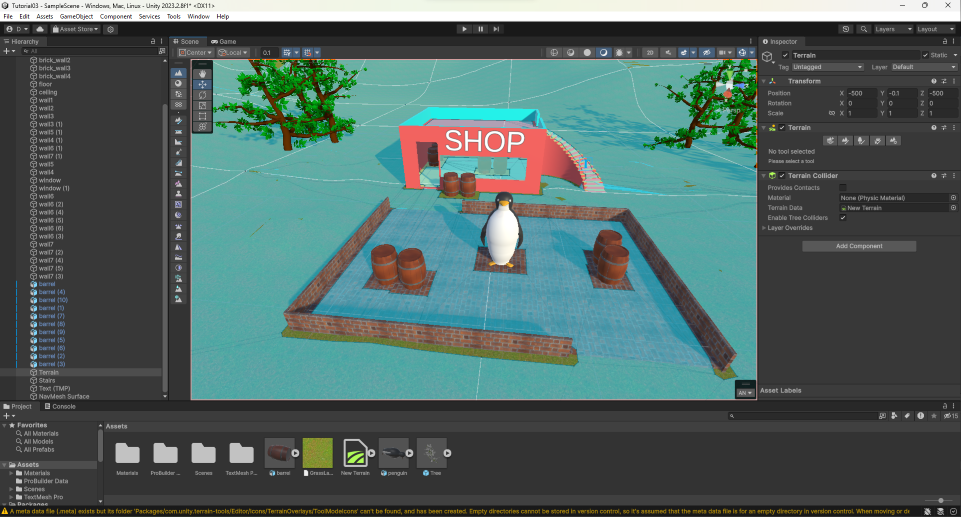
In the first half of this week, I created some terrain in Unity, added a building, and finished with a number of pre-fabricated models which I had created earlier (trees, barrels, penguin statue). Now it is time to add a Unity modifier called NavMesh. The purpose of a NavMesh is to tell game objects (players, enemies etc.) where they can move in the level. Different game objects, or NavMesh Agents, can be given characteristics such as height, width, speed and jump distance, which all help determine where they can move on the NavMesh. Here is my first attempt at creating the NavMesh:
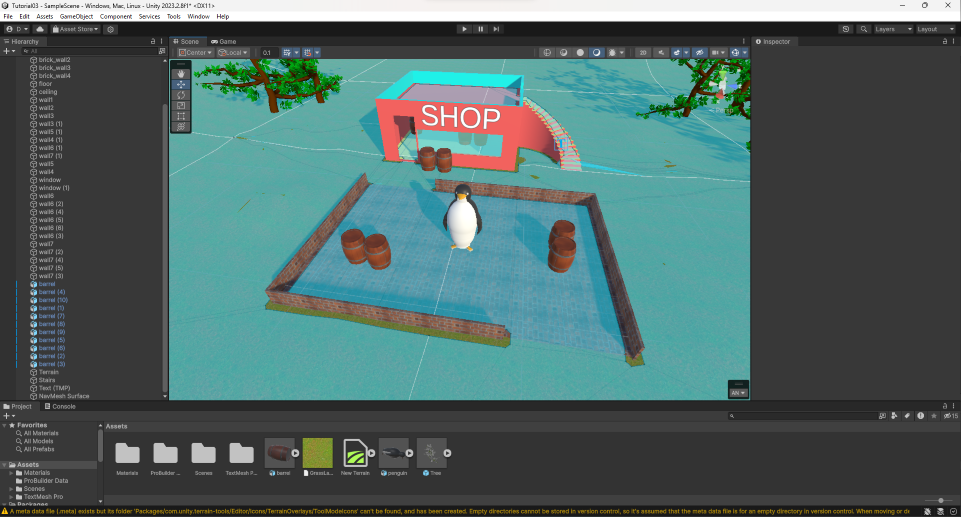
The blue areas show where the player can move (the player is not in the scene yet). Notice that the surface beneath the barrels, large penguin and trees are blue, meaning the player will be able to move through them. I fixed this by adding NavMesh Obstacle modifiers to the penguin and barrels, which carves out an area around these objects.
The trees were a bit harder. Unity does not treat each tree as an individual object which can be modified, so I needed a different solution. I decided to create a simple box around each clump of trees and applying the obstacle modifier as above, leaving a square patch carved out around the trees.
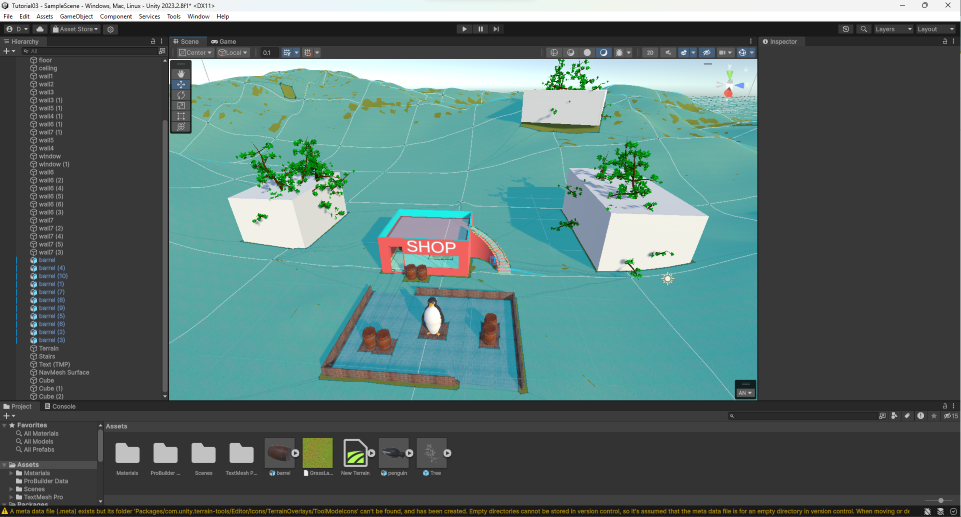

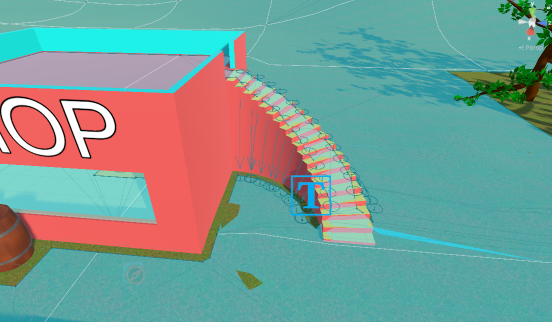
This process could be duplicated in finer detail to allow more accurate movement around trees. I also wanted the player to be able to jump off the side of the stairs, so I adjusted the "drop height" variable of the player agent and applied the NavMesh again. We can now see arrows pointing to where the player can jump from and to.
Now that the NavMesh is in place, let's add the player. For testing, the player will be a simple white capsule shape, which will eventually be replaced by the actual character model (time permitting for this devlog post, but for real-world game development this is common for development and testing purposes). To have the player move around the level, I used ray casting to convert the 2D screen coordinate of a mouse click into the 3D world coordinate in the level. Ray casting is like drawing a straight line from the mouse click position "into" the screen until it touches a surface in the world. Here is a sample of the player moving through the level (I have also made the penguin a moving obstacle here).
The really fun part of this week was spawning "enemy" characters. Utilizing the same ray casting technique as above, I can determine where the user has clicked the right mouse button and spawn a baby penguin at that location. I also wrote a short script to have the baby penguins chase the player around the level, accounting for the player's direction and velocity.
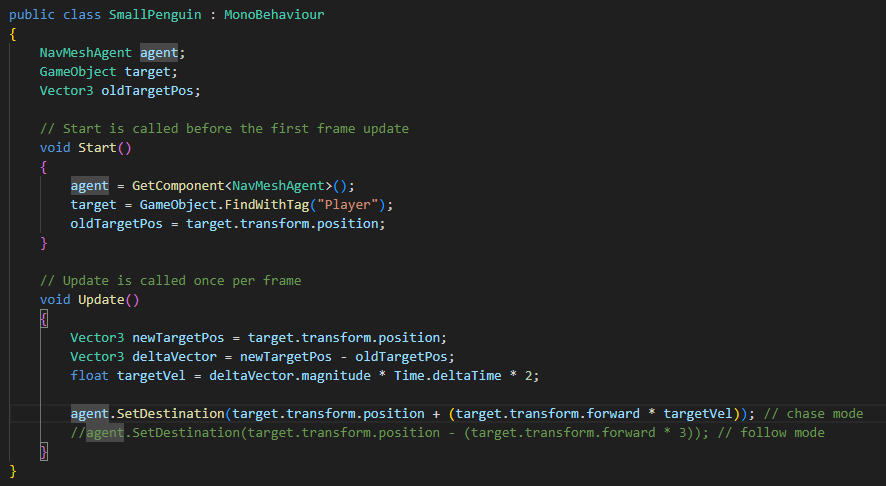
I decided to experiment with the penguin script by adding a "follow" mode, so the baby penguins will follow a couple of metres behind the player rather than attacking. The following 2 gifs are the "chase/attack" mode, and the "follow" mode in action.
Easter break is coming up this week, so hopefully I can find time to add the character model and animations from last week to replace the plain white capsule.
Issues I faced this week were:
- exporting small penguin model from Blender to be standing flat on the surface
- making the large penguin walk back and forth, then rotate when changing direction
The former took some trial and error, but I got their eventually (it's necessary to do this to ensure the penguins are connected to the NavMesh). The latter required me to change my coding strategy to utilize the features of Unity, which are designed to make these things easier. I also got a lot of help from the following resources:
https://discussions.unity.com/t/how-to-get-the-speed-of-an-object/144203
Ok, that's enough for this week. Bye :)
Leave a comment
Log in with itch.io to leave a comment.